How to Build a Music Player in Flutter
A music player may be added to your Flutter app in this tutorial. To play music from external storage, to play from an assets file, or to use a URL to play music (internet). The ability to adjust the volume of the song.
Introduction
Emotions may be expressed via music, which is a universal language. In the modern world, it’s clear that music applications are a must-have. Listening to their favorite songs on a variety of music applications is a popular way for people to cope with stress or improve their creative abilities. A developer’s job isn’t complete until he or she creates useful applications for themselves. Since you’re a fan of music, I decided to create a customized music app of my own. Here, I’ll show you how to create a simple music app in a Flutter.
Mega Bundle Sale is ON! Get ALL of our React Native codebases at 90% OFF discount 🔥
Get the Mega BundlePackages Used:
Our external storage will be accessed using Flutter audio query (eg. mobile phone, memory card, etc).
Flutter_audio_query: ^0.3.5+6
https://pub.dev/packages/flutter_audio_query
We may utilize the audio manager package to integrate features like play, pause, seek, inc. or dec. volume in our program.
audio_manager: ^0.8.2
https://pub.dev/packages/audio_manager
Setting Up the Project:
import the packages
import 'package:flutter_audio_query/flutter_audio_query.dart';
import 'package:audio_manager/audio_manager.dart';
Modify your AndroidManifest.xml
<application
    ...
    android:usesCleartextTraffic="true"
    ...
>
Modify your build.gradle file.
defaultConfig {
    minSdkVersion 23
}
Using the internet and other resources to play music:
Creating an audio manager instance
var audioManagerInstance = AudioManager.instance;
Playing music using the start method AudioManager has a start() function that we may use to start playing the music. Input includes a URL as well as a title, description, and a cover image, as well as an optional auto-complete field.
onTap: () {
 audioManagerInstance
 .start("song URL", "song title",
desc: "description",
auto: true,
cover: "cover URL")
 .then((err) {
 print(err);
});
},
To listen to music from an assets file, just modify the song’s URL to the location of the assets file.
onTap: () {
 audioManagerInstance
 .start("assets/music.mp3"song title",
desc: "description",
auto: true,
cover: "assets/cover.png")
 .then((err) {
 print(err);
});
},
Our external storage is being used to download music:
FlutterAudioQuery produces a future, thus we’ll use a FutureBuilder to get the music files from external storage. For example, we can use the getSongs function to get all the songs from a certain artist or album. Only the getSongs function will be used to keep the logic basic and clean. Every single one of them is yours for the taking.
FutureBuilder(
  future: FlutterAudioQuery()
      .getSongs(sortType: SongSortType.RECENT_YEAR),
  builder: (context, snapshot) {
    List<SongInfo> songInfo = snapshot.data;
    if (snapshot.hasData) return SongWidget(songList: songInfo);
    return Container(
      height: MediaQuery.of(context).size.height * 0.4,
      child: Center(
        child: Row(
          mainAxisAlignment: MainAxisAlignment.center,
          children: <Widget>[
            CircularProgressIndicator(),
            SizedBox(
              width: 20,
            ),
            Text(
              "Loading....",
              style: TextStyle(fontWeight: FontWeight.bold),
            )
          ],
        ),
      ),
    );
  },
)
SongWidget:
External memory may only be used in the song’s path is known. The filePath field of the SongInfo class allows us to get the location of the music file.
onTap: () {
 audioManagerInstance
 .start("file://${song.filePath}", song.title,
desc: song.displayName,
auto: true,
cover: song.albumArtwork)
 .then((err) {
 print(err);
});
},
Setting Up the audio:
This is the most crucial portion since it controls a variety of audio occurrences.
void setupAudio() {
 audioManagerInstance.onEvents((events, args) {
 switch (events) {
 case AudioManagerEvents.start:
 _slider = 0;
break;
case AudioManagerEvents.seekComplete:
 _slider = audioManagerInstance.position.inMilliseconds /
audioManagerInstance.duration.inMilliseconds;
setState(() {});
break;
case AudioManagerEvents.playstatus:
isPlaying = audioManagerInstance.isPlaying;
setState(() {});
break;
case AudioManagerEvents.timeupdate:
 _slider = audioManagerInstance.position.inMilliseconds /
audioManagerInstance.duration.inMilliseconds;
audioManagerInstance.updateLrc(args["position"].toString());
setState(() {});
break;
case AudioManagerEvents.ended:
 audioManagerInstance.next();
setState(() {});
break;
default:
 break;
}
 });
}
Initializing setupAudio
void initState() {
super.initState();
setupAudio();
}
Mega Bundle Sale is ON! Get ALL of our React Native codebases at 90% OFF discount 🔥
Get the Mega BundleCreating a control panel:
This panel contains a play-pause button, previous button, next button, and a songProgress Slider.
Widget bottomPanel() {
  return Column(children: <Widget>[
    Padding(
      padding: EdgeInsets.symmetric(horizontal: 16),
      child: songProgress(context),
    ),
    Container(
      padding: EdgeInsets.symmetric(vertical: 16),
      child: Row(
        mainAxisAlignment: MainAxisAlignment.spaceEvenly,
        children: <Widget>[
          CircleAvatar(
            child: Center(
              child: IconButton(
                  icon: Icon(
                    Icons.skip_previous,
                    color: Colors.white,
),
                  onPressed: () => audioManagerInstance.previous()),
            ),
            backgroundColor: Colors.cyan.withOpacity(0.3),
          ),
          CircleAvatar(
            radius: 30,
            child: Center(
              child: IconButton(
                onPressed: () async {
                  if(audioManagerInstance.isPlaying)
                    audioManagerInstance.toPause();
                  audioManagerInstance.playOrPause();
                },
                padding: const EdgeInsets.all(0.0),
                icon: Icon(
                  audioManagerInstance.isPlaying
                      ? Icons.pause: Icons.play_arrow,
                  color: Colors.white,
                ),
              ),
            ),
          ),
          CircleAvatar(
            backgroundColor: Colors.cyan.withOpacity(0.3),
            child: Center(
              child: IconButton(
                  icon: Icon(
                    Icons.skip_next,
                    color: Colors.white,
                  ),
                  onPressed: () => audioManagerInstance.next()),
            ),
          ),
        ],
      ),
    ),
  ]);
}
Duration of a song:
Using this function, we may format the song’s length in milliseconds into this format: 000:00. Format, in this case, is a string equal to 00:00. The song’s runtime is used to calculate the duration. Otherwise, it returns the provided duration formatted as [insert format here].
String _formatDuration(Duration d) {
 if (d == null) return "--:--";
int minute = d.inMinutes;
int second = (d.inSeconds > 60) ? (d.inSeconds % 60) : d.inSeconds;
String format = ((minute < 10) ? "0$minute" : "$minute") +
 ":" +
 ((second < 10) ? "0$second" : "$second");
return format;
}
SongProgress:
Widget songProgress(BuildContext context) {
  var style = TextStyle(color: Colors.black);
  return Row(
    children: <Widget>[
      Text(
        _formatDuration(audioManagerInstance.position),
        style: style,
      ),
      Expanded(
        child: Padding(
          padding: EdgeInsets.symmetric(horizontal: 5),
          child: SliderTheme(
              data: SliderTheme.of(context).copyWith(
                trackHeight: 2,
                thumbColor: Colors.blueAccent,
                overlayColor: Colors.blue,
                thumbShape: RoundSliderThumbShape(
                  disabledThumbRadius: 5,
                  enabledThumbRadius: 5,
                ),
                overlayShape: RoundSliderOverlayShape(
                  overlayRadius: 10,
                ),
                activeTrackColor: Colors.blueAccent,
                inactiveTrackColor: Colors.grey,
              ),
              child: Slider(
                value: _slider ?? 0,
                onChanged: (value) {
                  setState(() {
                    _slider = value;
                  });
                },
                onChangeEnd: (value) {
                  if (audioManagerInstance.duration != null) {
                    Duration msec = Duration(
                        milliseconds:
                        (audioManagerInstance.duration.inMilliseconds *
                            value)
                            .round());
                    audioManagerInstance.seekTo(msec);
                  }
                },
              )),
        ),
      ),
      Text(
        _formatDuration(audioManagerInstance.duration),
        style: style,
      ),
    ],
  );
}
Looking for a custom mobile application?
Our team of expert mobile developers can help you build a custom mobile app that meets your specific needs.
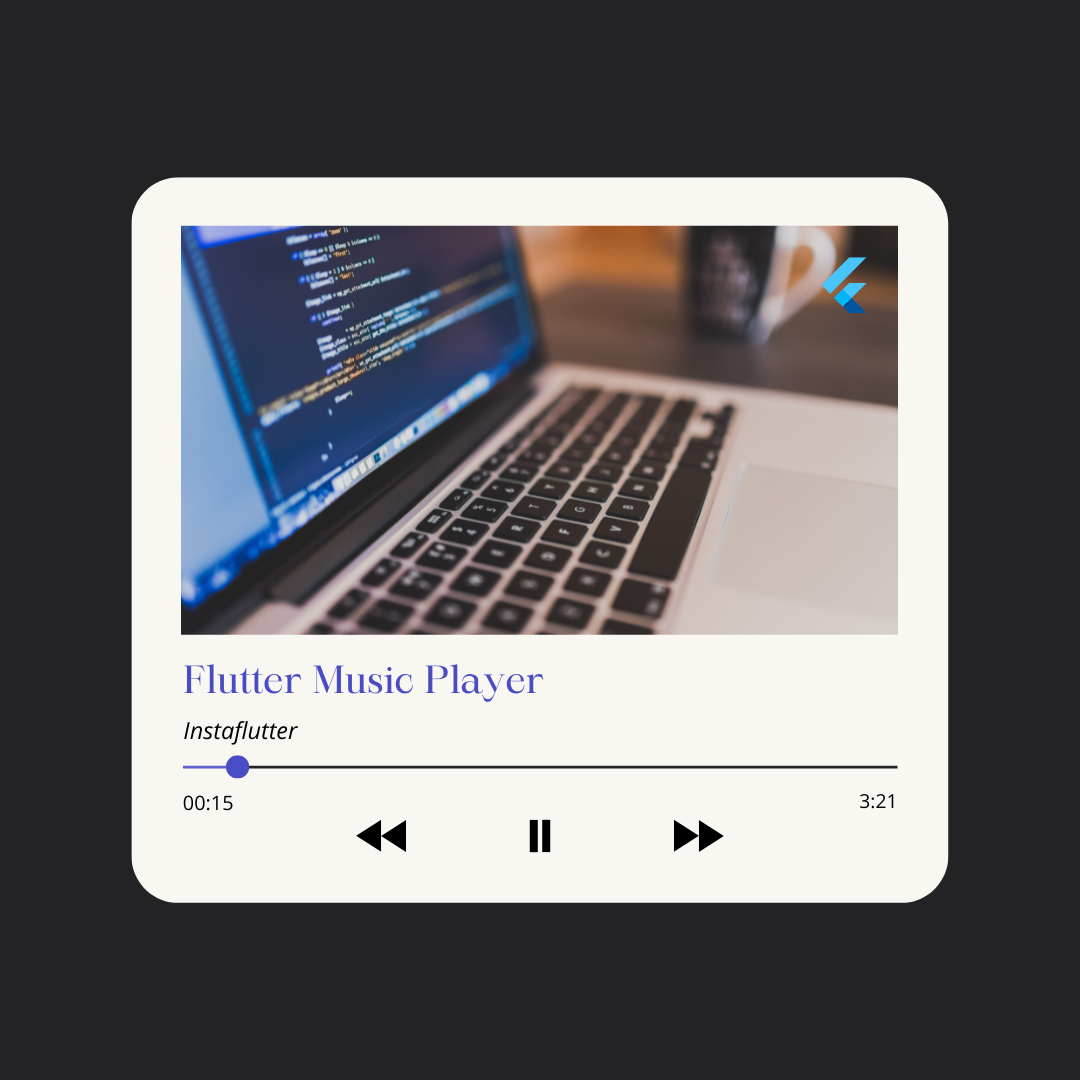
Get in TouchConclusion
After all these steps, we have got the following output: